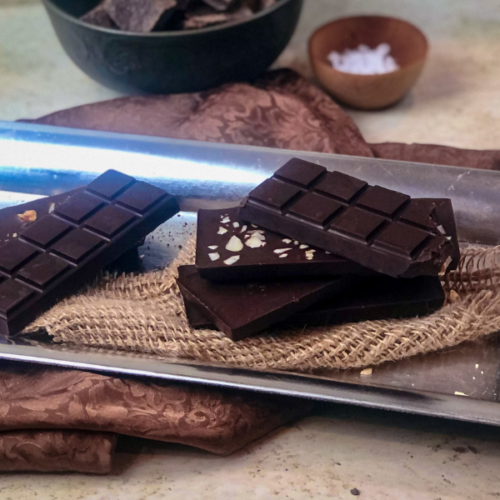
Homemade Chocolate Bars
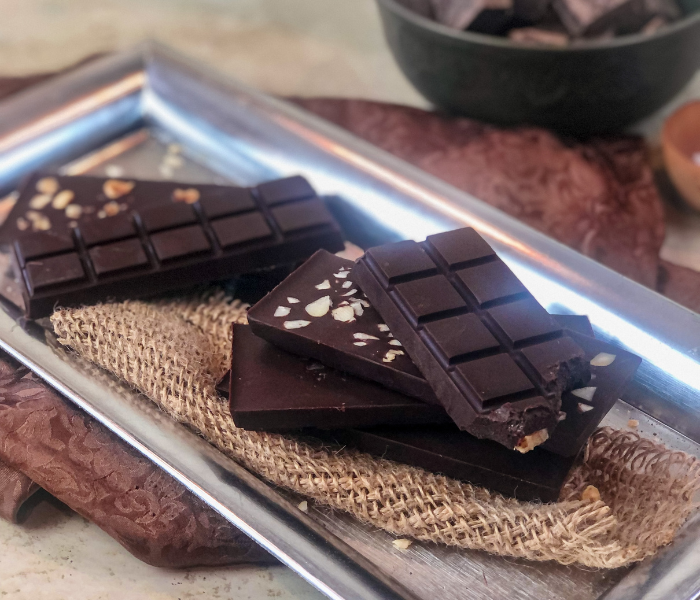
This Homemade Chocolate Bars is a very delicious snappy dairy-free treat. Made with cacao butter and cacao liquor, it’s naturally sweetened and gluten-free.
This recipe is very easy to make and requires just of 5 ingredients that adults or children can enjoy!
I love to make my own version of sweet treats and knowing vegan, dairy-free or naturally sweetened chocolate is kind of expensive, if we compare it with the prize of regular ones… So, I though – Why not to make chocolate bars with the ingredients I want?
This is how I ended up preparing this yum homemade chocolate bars!
Seriously, I think I am obsessed.
I am a sucker for chocolate recipes that are healthy and simple to make.
Then, you can spend less time on preparing them and more time on the fun part…
Eating them!
Ingredients
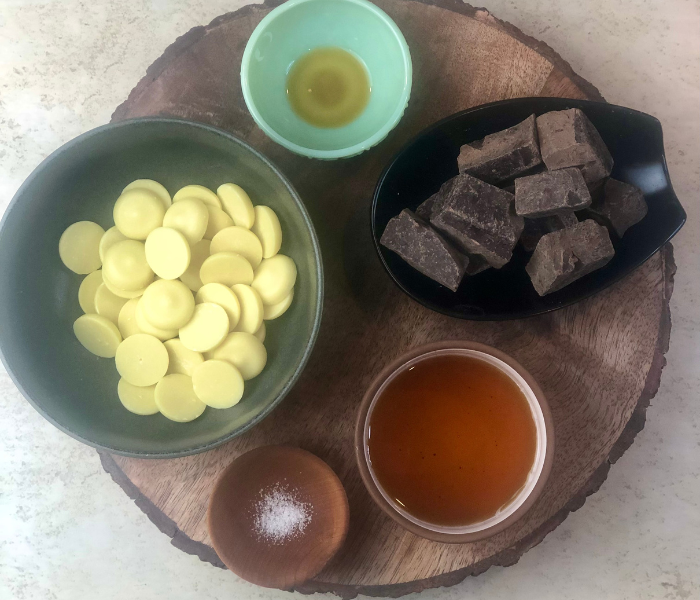
Cacao liquor: Also known as cacao paste, is pure cacao mass in solid form. It’s usually available in the form of buttons/discs.
Cacao butter: The main ingredient to make any vegan chocolate bar.
Maple syrup: As our natural sweetener used in this recipe. You can also use agave nectar, coconut nectar or yacon syrup.
Vanilla extract: I recommend to use a natural one for better taste.
Sea salt: This enhances the flavors and balances the sweetness of the chocolate.
Steps to make Homemade Chocolate Bars
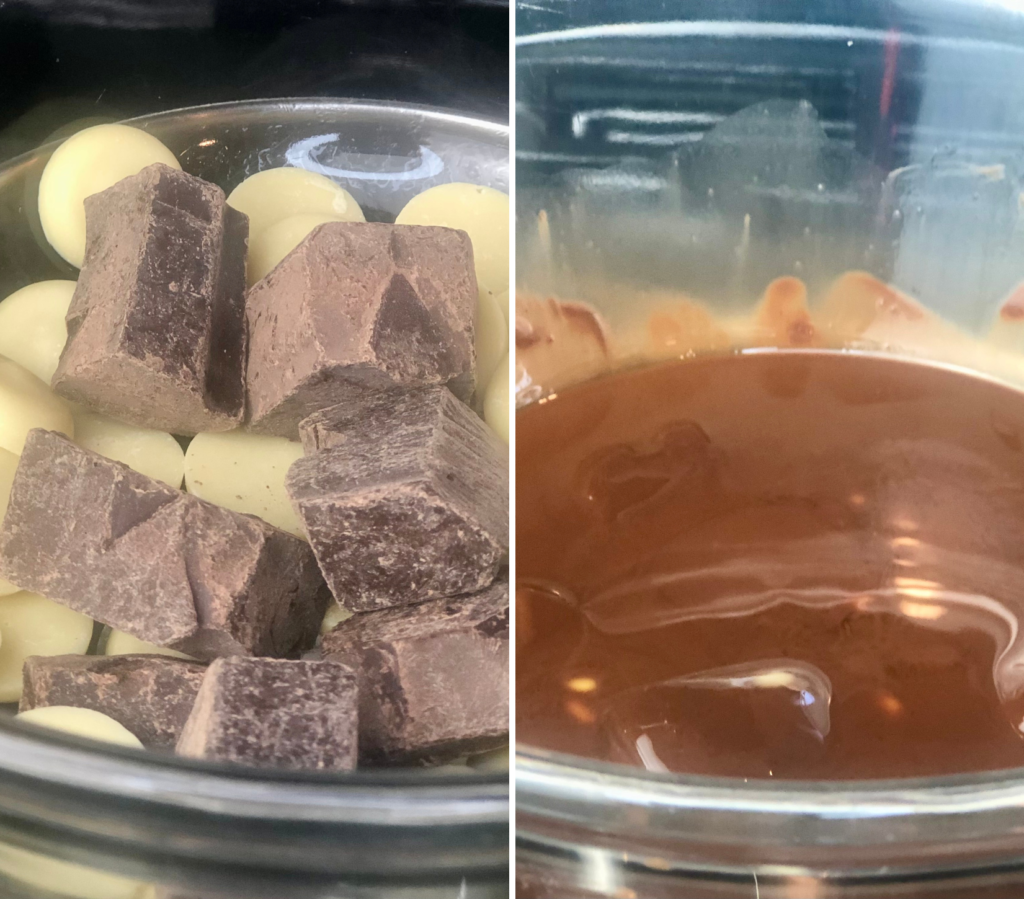
- Add melt cacao liquor and cacao butter to a large heat-resistant bowl and place on top of a saucepan with simmering water (known as a bain-marie or water bath).
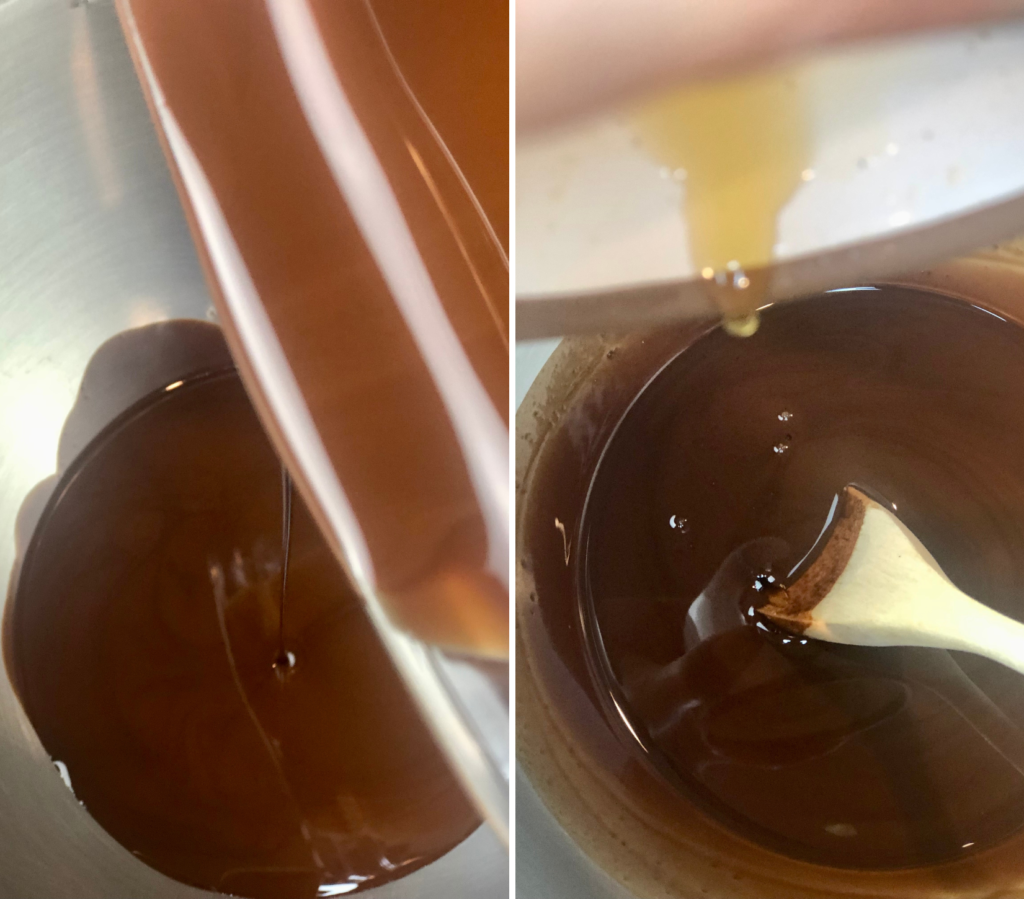
2. Transfer the melted chocolate to another bowl (if it’s stainless one, it’s better) to cool down the chocolate faster. Then add the rest of ingredients: salt, maple syrup and vanilla extract. (Read tips for tempering chocolate to get shiny and snappy bars).
3. Place the bowl back on the water bath and bring the temperature back up to 88F – 31C. Divide the chocolate into the silicone molds and place it in the fridge to chill for at least 20 minutes or so.

Final Tips
- Use all tools and molds at room temperature.
- Use stainless bowl for cooling down the melted chocolate.
- Prepare all your equipment ready to go. The last thing you want is to be fumbling around trying to get a water bath ready mid chocolate making! So read the recipe, read it again, and get all of your equipment and ingredients prepped in advance.
- No water ever. Everything should be dry. All the equipment: bowls, spatula, chocolate molds should be completely dry.
- If you’re using silicone molds, place them on a solid base so you can transfer the chocolate much easier to the fridge without splinting it out.
Temper the Chocolate:
Have you ever wondered why some chocolate is shiny and snaps when you break off a piece? The shine in chocolate is traditionally created by “tempering” which is the process of melting and cooling chocolate in order to form beta crystals in the cacao butter.
- To temper your chocolate, you first have to melt the cacao butter and cacao liquor on the water bath, until you reach a temperature of 110-112F. No more than that. Remove the bowl from double boiling. Then cool down the chocolate until reaching out 84F-29C. (Changing the chocolate to a stainless bowl, will help it to cool down faster) This is the moment you add the rest of the ingredients. Finally, reheat the chocolate up to 88F-31C and mold your melted chocolate. That’s it!
How to store
Remove the bars from the molds and wrap them in baking paper and place them in an airtight container. I recommend storing them in the fridge as they can get a little soft if left out at room temperature for periods of time. They will stay fresh in the fridge for at least 2 weeks.
Serving suggestions
- Melt it over vegan ice cream sundaes.
- Use it to coat vegan chocolate bar recipes such as chocolate frosting for cake bars or Chocolate layer of granola bar.
- For fudge brownies or chocolate butter cups.
- For chocolate ganache and melt it over vegan ice cream sundaes.
You’ll like every bit of it. It’s finger-lickin’ good! Enjoy it, friends!🌞
If you like this healthy sweet treat, you might love this too:
Cookies with Chocolate Chuncks
Thank you for your support and follow us along here! That’s a sunshine in my heart! If you would like to see more, you also can find us on Instagram and follow us there as well! Did you make this recipe? I’d love to see your creations by tagging a picture here #thesunshinekitchen__. If you want to support our business, the best way to do it, it’s sharing our recipes, so more people will know about them. Your opinion is important to us! Leave us your feedback by rating and commenting at the bottom of this page!
Homemade Chocolate Bars
Ingredients
- 100 gr cacao butter
- 140 gr cacao paste
- 80 gr maple syrup
- ½ tsp vanilla extract
- pinch sea salt
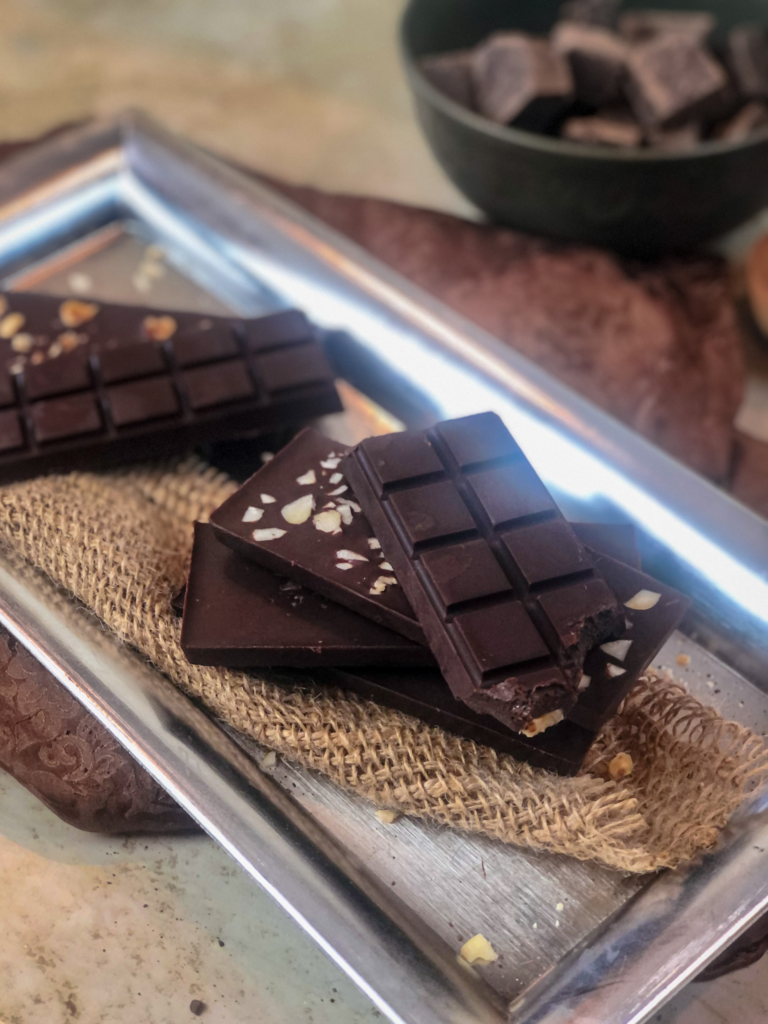
Topping/Garnish (optional)
- crushed hazelnuts, almonds or salt flakes
Instructions
- Add the cacao liquor and cacao butter to a large heat-resistant bowl and place on top of a saucepan with simmering water (known as a bain-marie or water bath). Make sure the water does not touch the bowl but allow the steam to rise up and gently melt the ingredients until getting a temperature of 110-112°F.
- Remove the bowl from the water bath and transfer the melted chocolate to a different bowl (stainless bowl would be better) to help cool down the chocolate faster. Add the rest of ingredients: salt, maple syrup and vanilla extract and stir until the ingredients are evenly mixed. when the chocolate has reached a temperature of 84°F, it'll time to reheat it.
- Place the bowl back on the water bath and place a thermostat into the bowl of chocolate to measure the temperature. Bring the temperature up to 88°F (it takes just couple of seconds to reach this temperature)
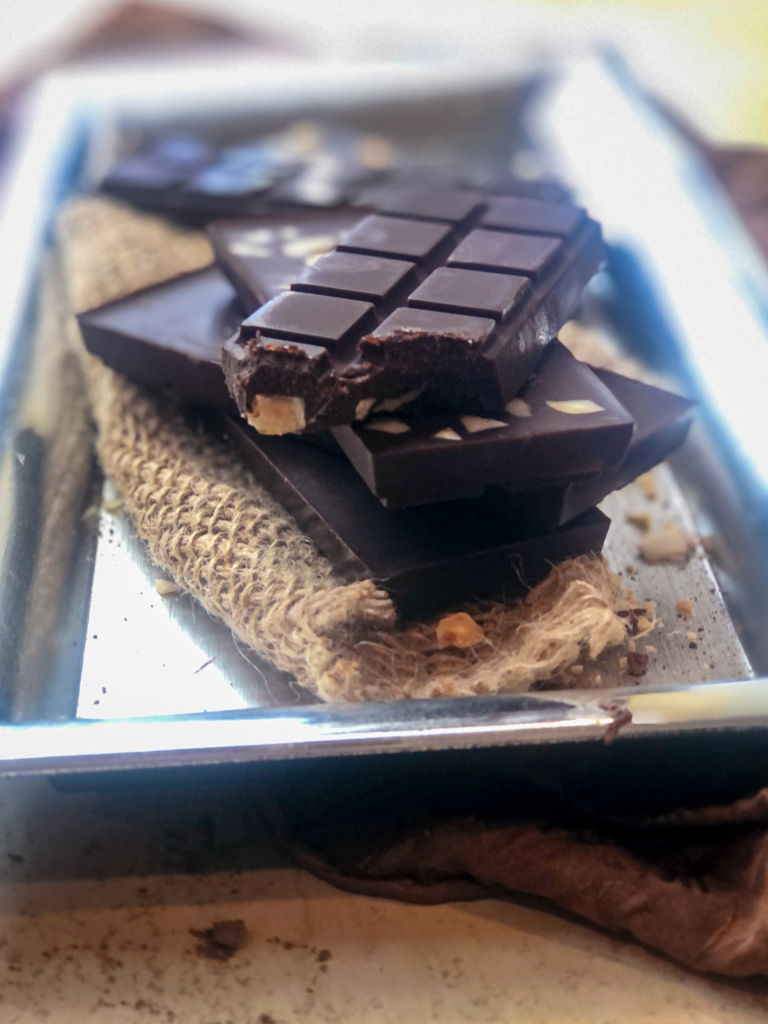
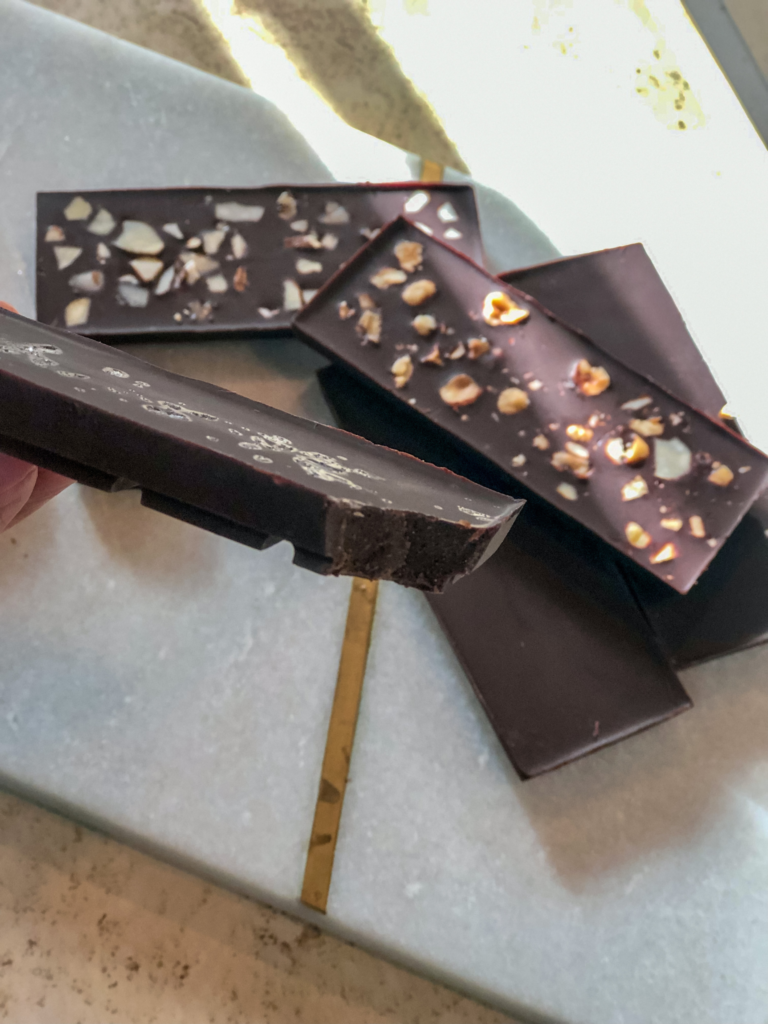
- Divide the chocolate into the silicone molds top with crashed nuts or salt flakes (optional) and place it in the fridge to chill for at least 30 minutes. Once set, remove the bars from the molds and wrap them in baking paper, and place them in an airtight container. Store in the fridge for up to 2 weeks.
Notes
- Use all tools and molds at room temperature.
- Prepare all your equipment ready to go. The last thing you want is to be fumbling around trying to get a water bath ready mid chocolate making! So read the recipe, read it again, and get all of your equipment and ingredients prepped in advance.
- No water ever. Everything should be dry. All the equipment: bowls, spatula, chocolate molds should be completely dry.
- Be careful that absolutely no water splashes into the bowl as water will cause the chocolate to seize.
- If you’re using silicone molds, place them on a solid base so you can transfer the chocolate much easier to the fridge without splinting it out.
- Use stainless bowl for cooling down the melted chocolate.